Removing vSCOUT vSTREAM Embedded and vSTREAM Agent: Difference between revisions
No edit summary |
No edit summary |
||
| Line 14: | Line 14: | ||
| | ||
[[File:vSCOUTUninstallProgram.png|border|center | [[File:vSCOUTUninstallProgram.png|border|center|vSCOUTUninstallProgram.png]] | ||
| | ||
| Line 20: | Line 20: | ||
=== Option 2: silent uninstall (optional) === | === Option 2: silent uninstall (optional) === | ||
<span style="background-color:#FFFF00;">You must use the file used | <span style="background-color:#FFFF00;">You must use the same installation file as used during installation.</span> The agent can be uninstalled from a command shell. Open the command shell as Administrator. The services will be stopped automatically. A reboot may be required. | ||
If the agent was installed using the .exe installer. Example: | If the agent was installed using the .exe installer. Example: | ||
| Line 31: | Line 31: | ||
=== Check uninstallation === | === Check uninstallation === | ||
| |||
{{#invoke:Message box|ambox |type=content|text=We recommend the removal of the installation folder after verification..}} | |||
| |||
The software is uninstalled successfully when both conditions are met: | The software is uninstalled successfully when both conditions are met: | ||
| Line 36: | Line 42: | ||
*The processes (Task Manager) nsprobe and procmanager are no longer running | *The processes (Task Manager) nsprobe and procmanager are no longer running | ||
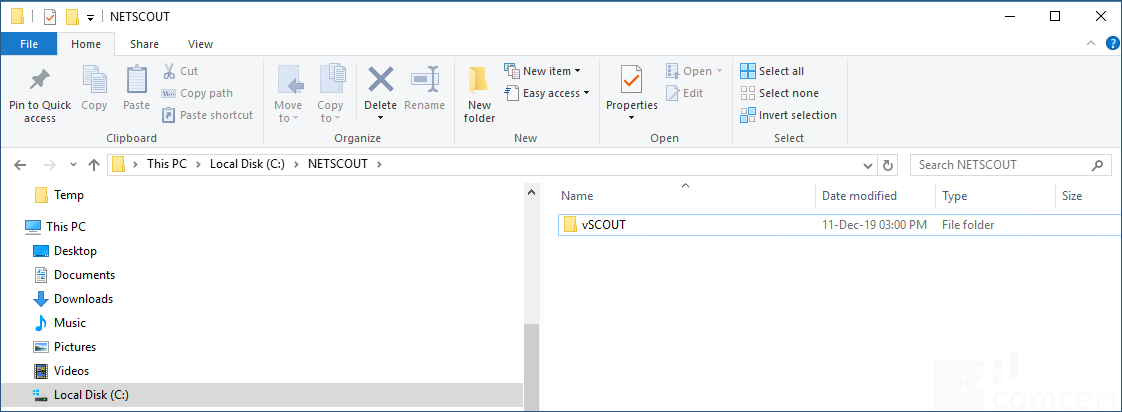
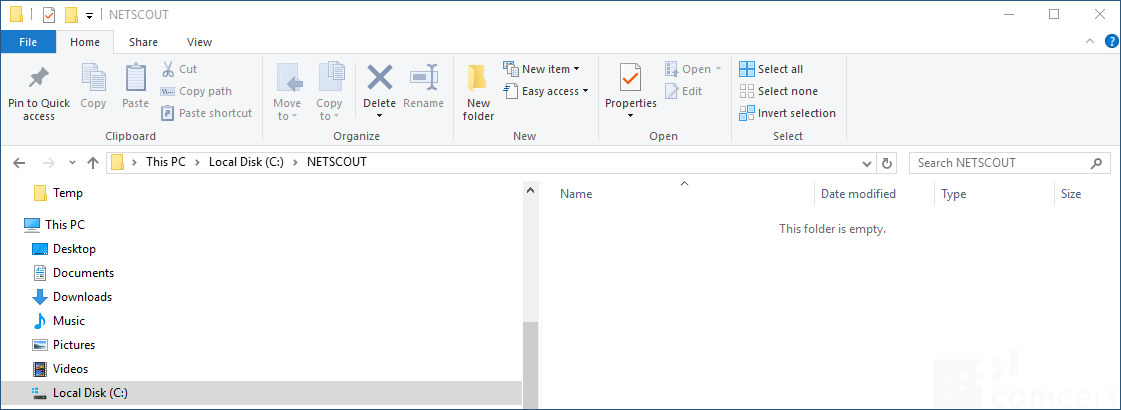
*The installation folder (ex. C:\NETSCOUT\) still exists but is empty | *The installation folder (ex. C:\NETSCOUT\) still exists but is empty | ||
Before removal: | Before removal: | ||
| Line 43: | Line 47: | ||
| | ||
[[File:InstallDirBeforeRemoval.png|border|center | [[File:InstallDirBeforeRemoval.png|border|center|InstallDirBeforeRemoval.png]] | ||
| | ||
| Line 51: | Line 55: | ||
| | ||
[[File:InstallDirAfterRemoval.png|border|center | [[File:InstallDirAfterRemoval.png|border|center|InstallDirAfterRemoval.png]] | ||
| | ||
| Line 64: | Line 68: | ||
| | ||
[[Category:Pages with broken file links]] | |||
Revision as of 14:13, 11 December 2019
Introduction
Removal of vSCOUT, vSTREAM Embedded and vSTREAM Agent on Windows hosts can be difficult.
Solution
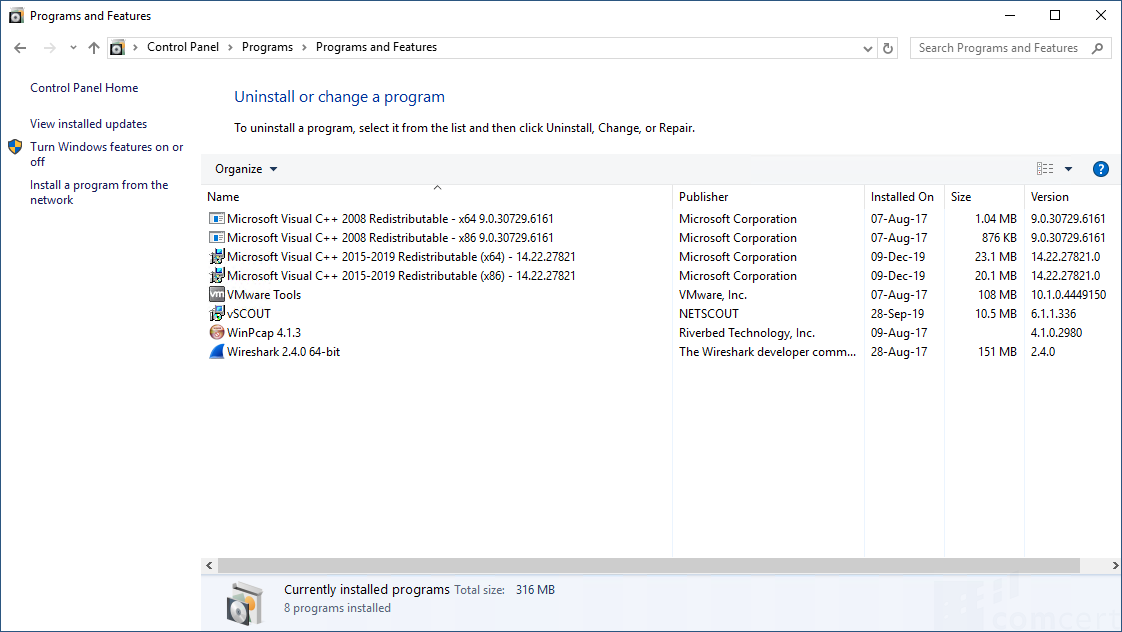
Option 1: control panel (preference)
vSCOUT, vSTREAM Embedded and vSTREAM Agent can be uninstalled in all supported Microsoft Windows environments using the standard Add/Remove Programs option in the Control Panel.

Option 2: silent uninstall (optional)
You must use the same installation file as used during installation. The agent can be uninstalled from a command shell. Open the command shell as Administrator. The services will be stopped automatically. A reboot may be required.
If the agent was installed using the .exe installer. Example:
is-6110-xxxx-vSCOUT.exe /s /x /v/qn
If the agent was installed using the .msi installer. Example:
msiexec /x is-6110-xxxx-vSCOUT.msi /qn
Check uninstallation
| We recommend the removal of the installation folder after verification.. |
The software is uninstalled successfully when both conditions are met:
- The processes (Task Manager) nsprobe and procmanager are no longer running
- The installation folder (ex. C:\NETSCOUT\) still exists but is empty
Before removal:

After removal:

Problem solving
If for any reason the above procedures don't work, the most likely solution is to reinstall the software with default parameters and then removing it immediately via control panel. The easiest way to do this is by double clicking the exe-installer and follow the onscreen instructions/